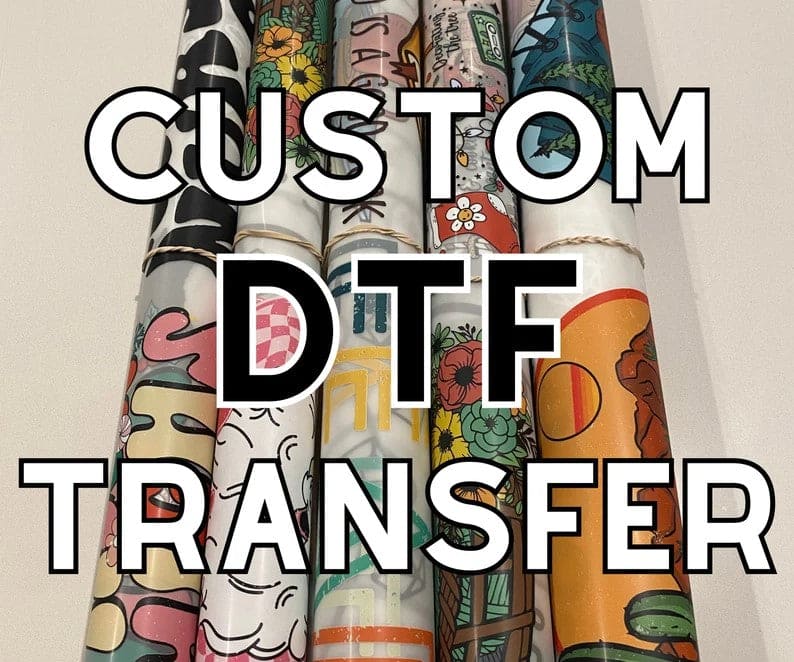
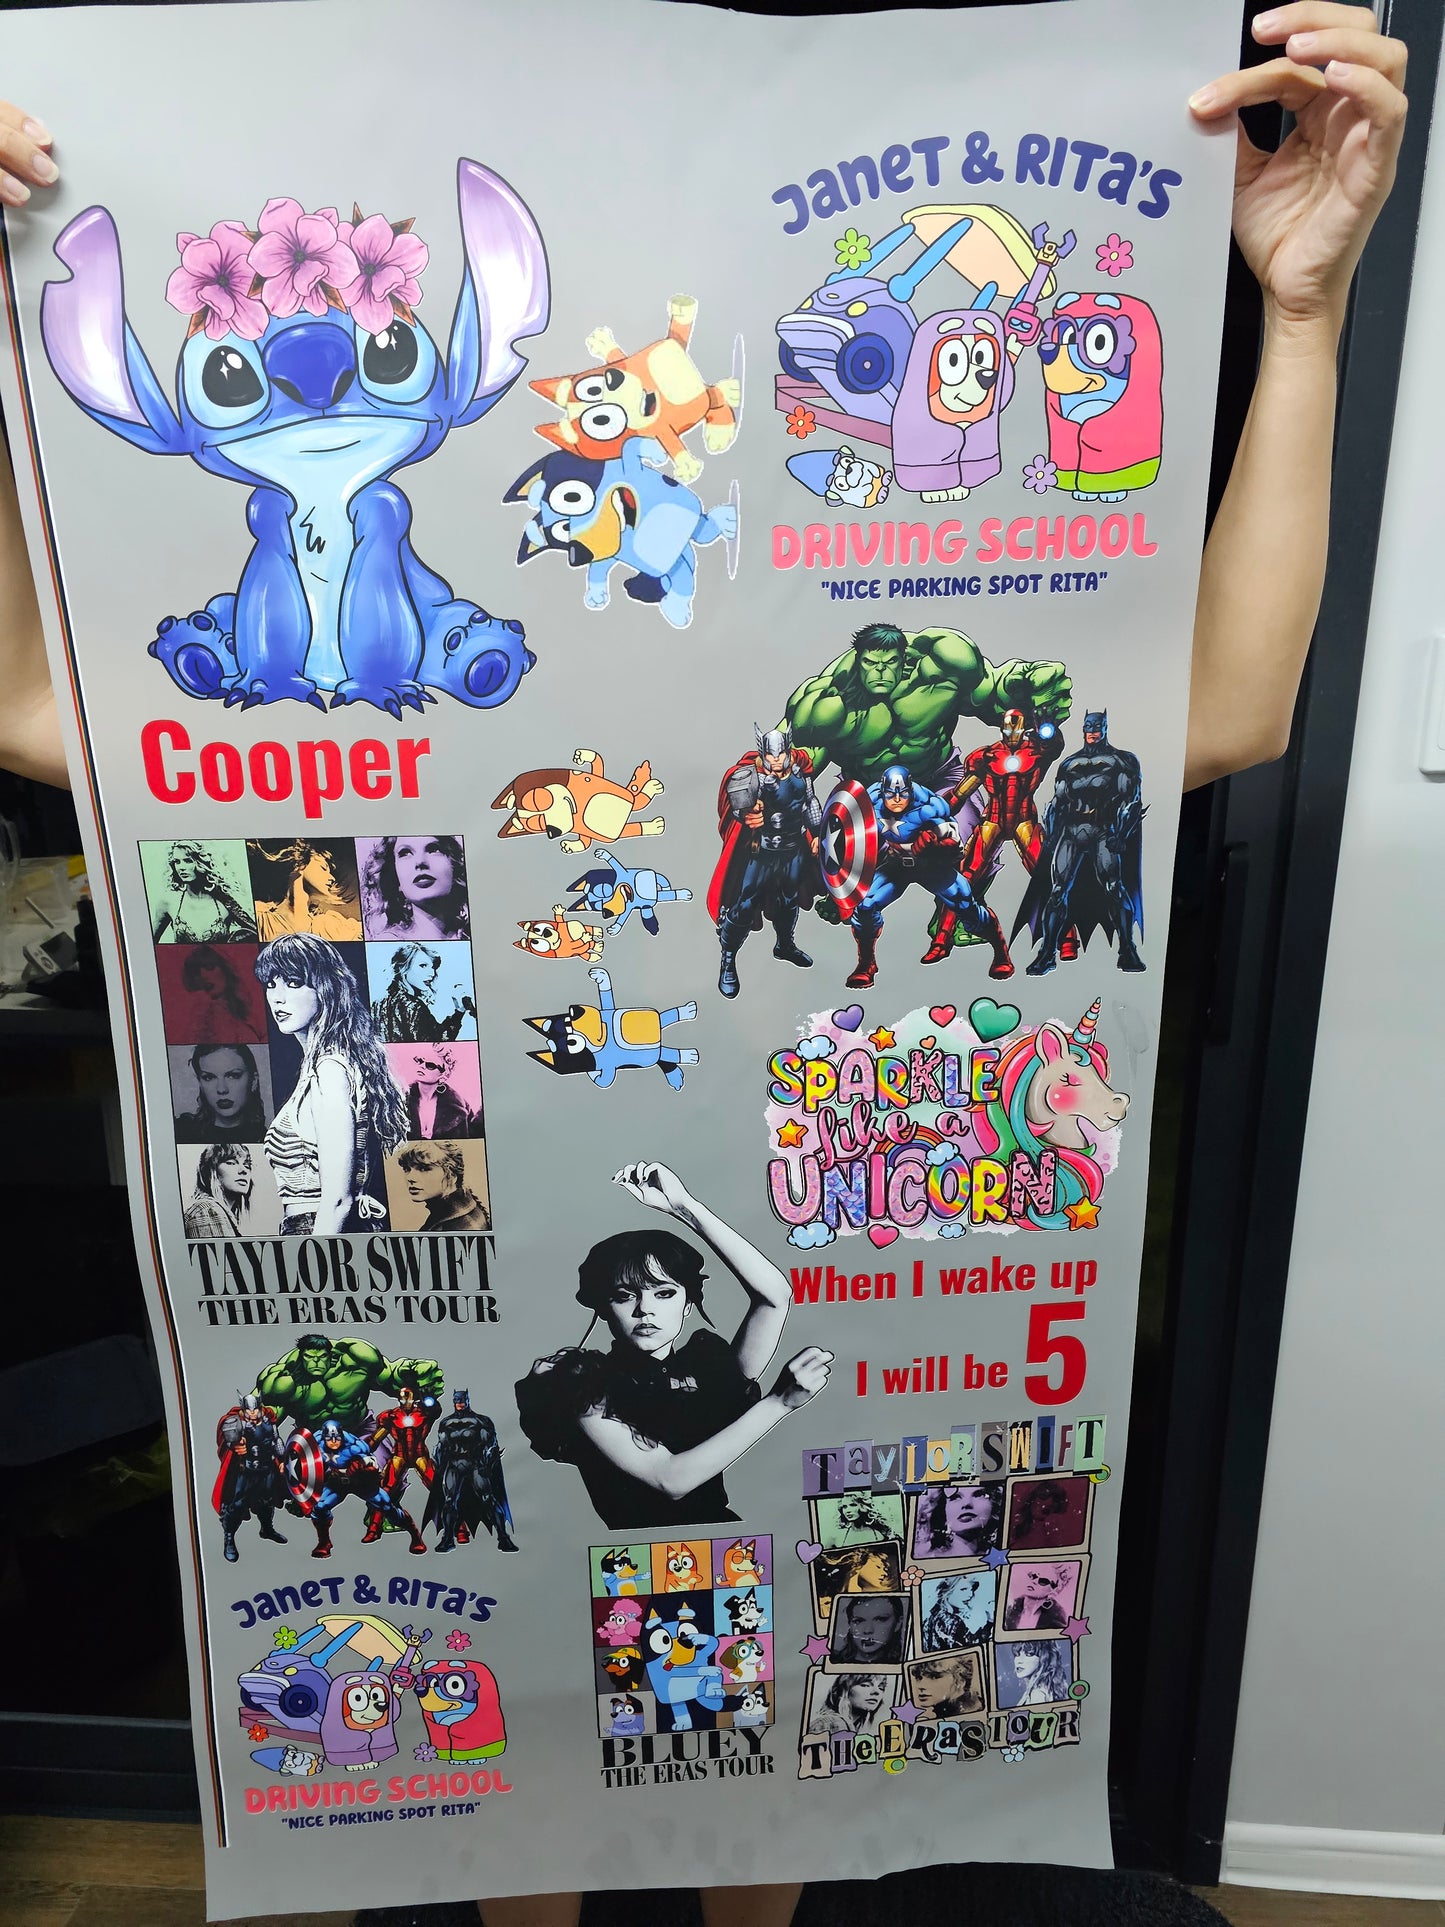
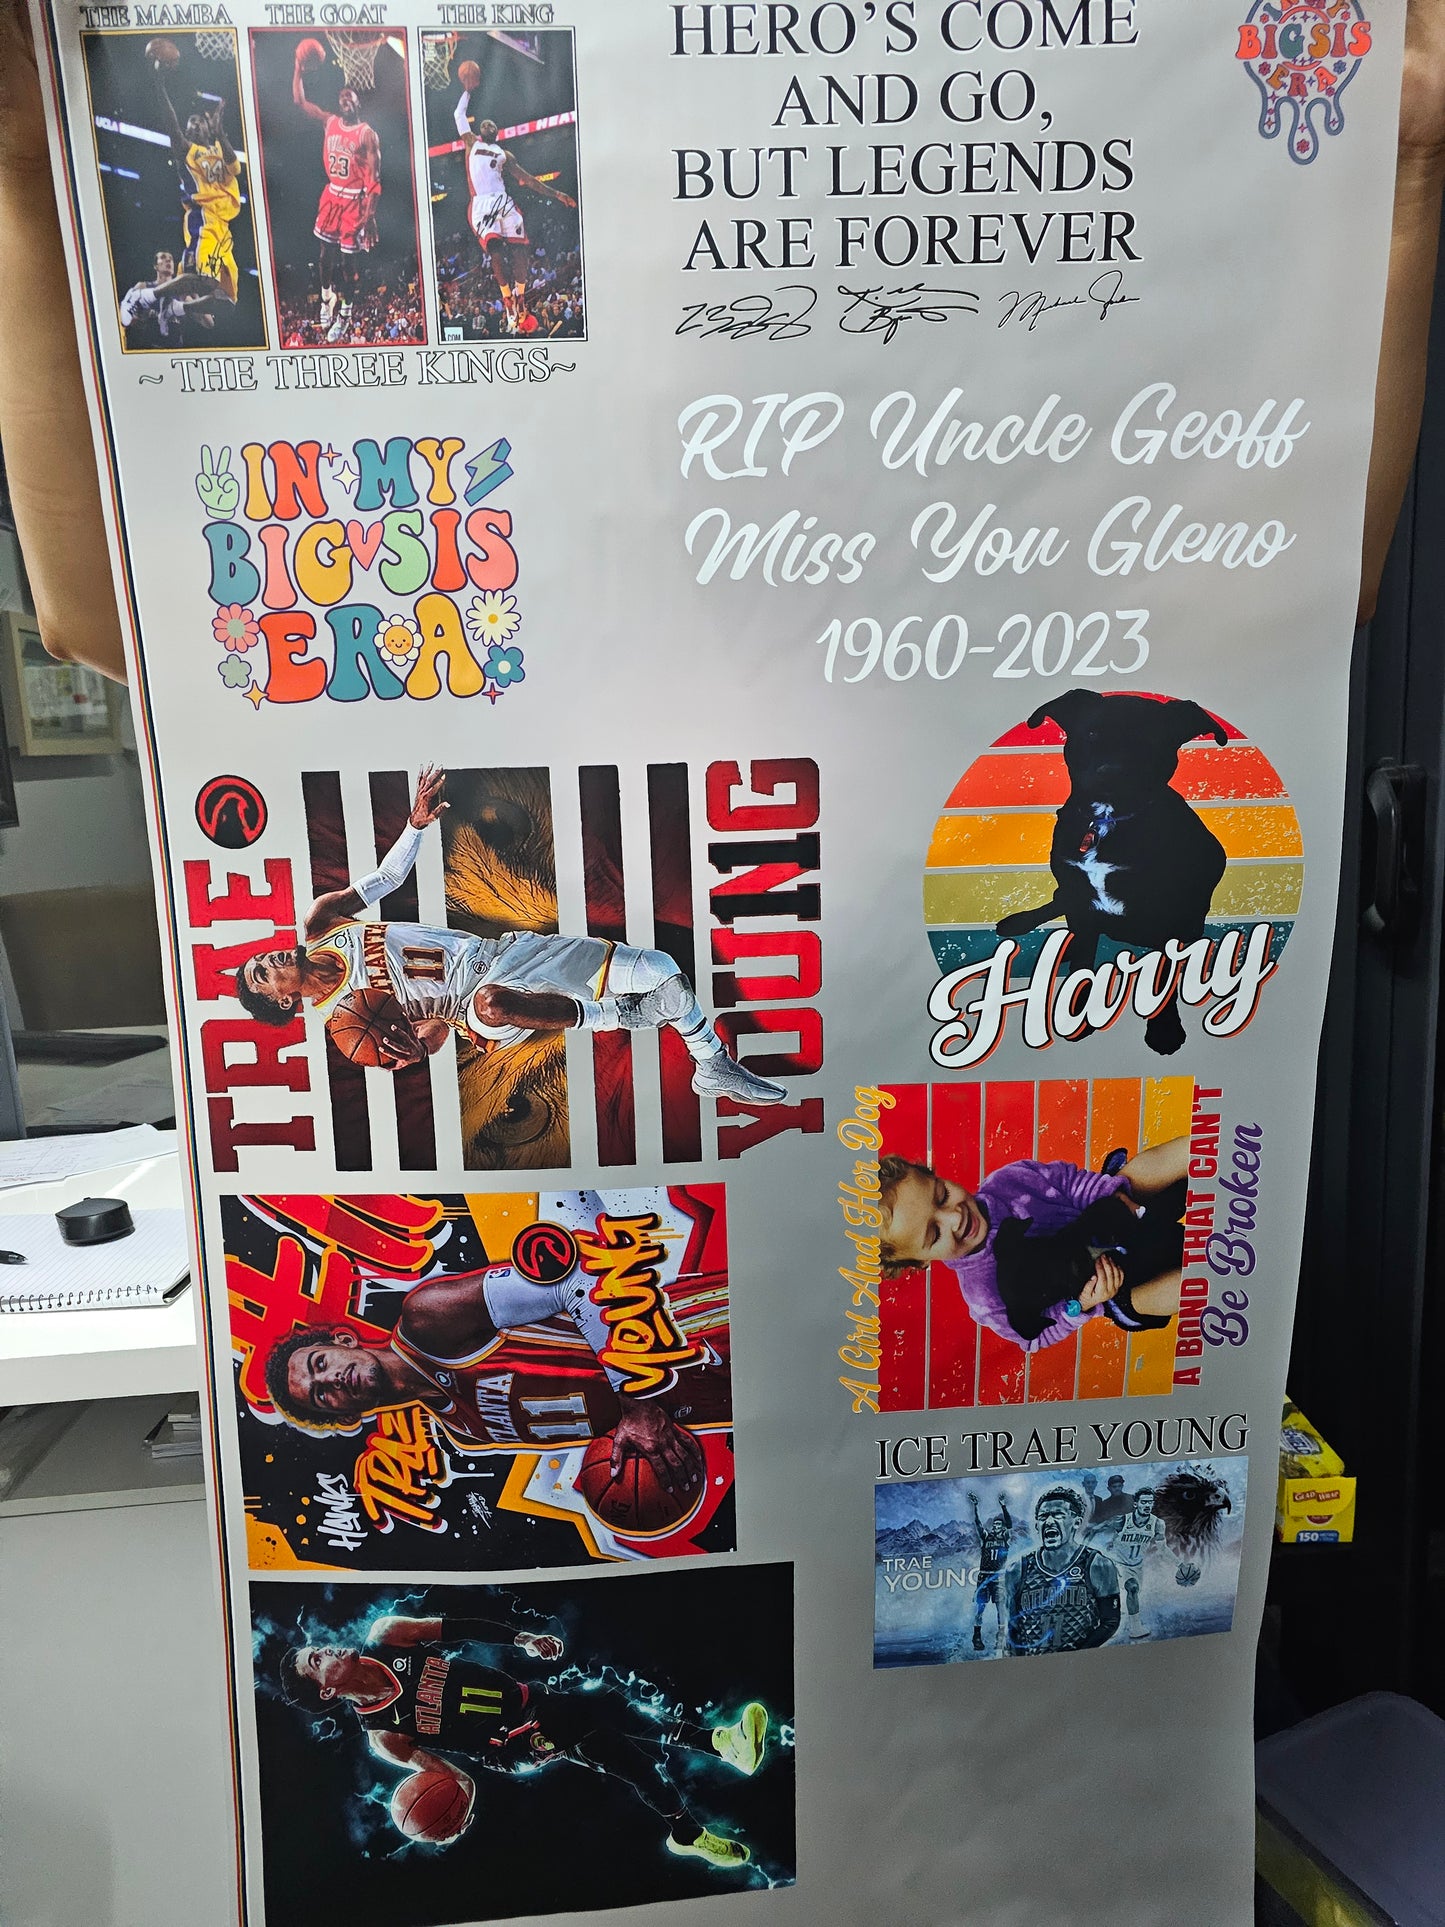
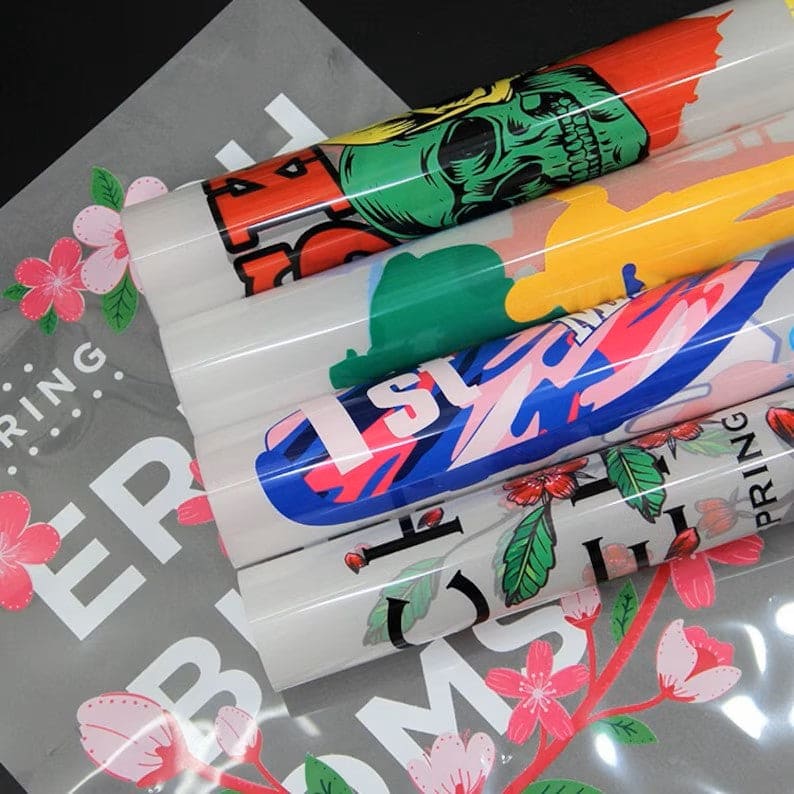
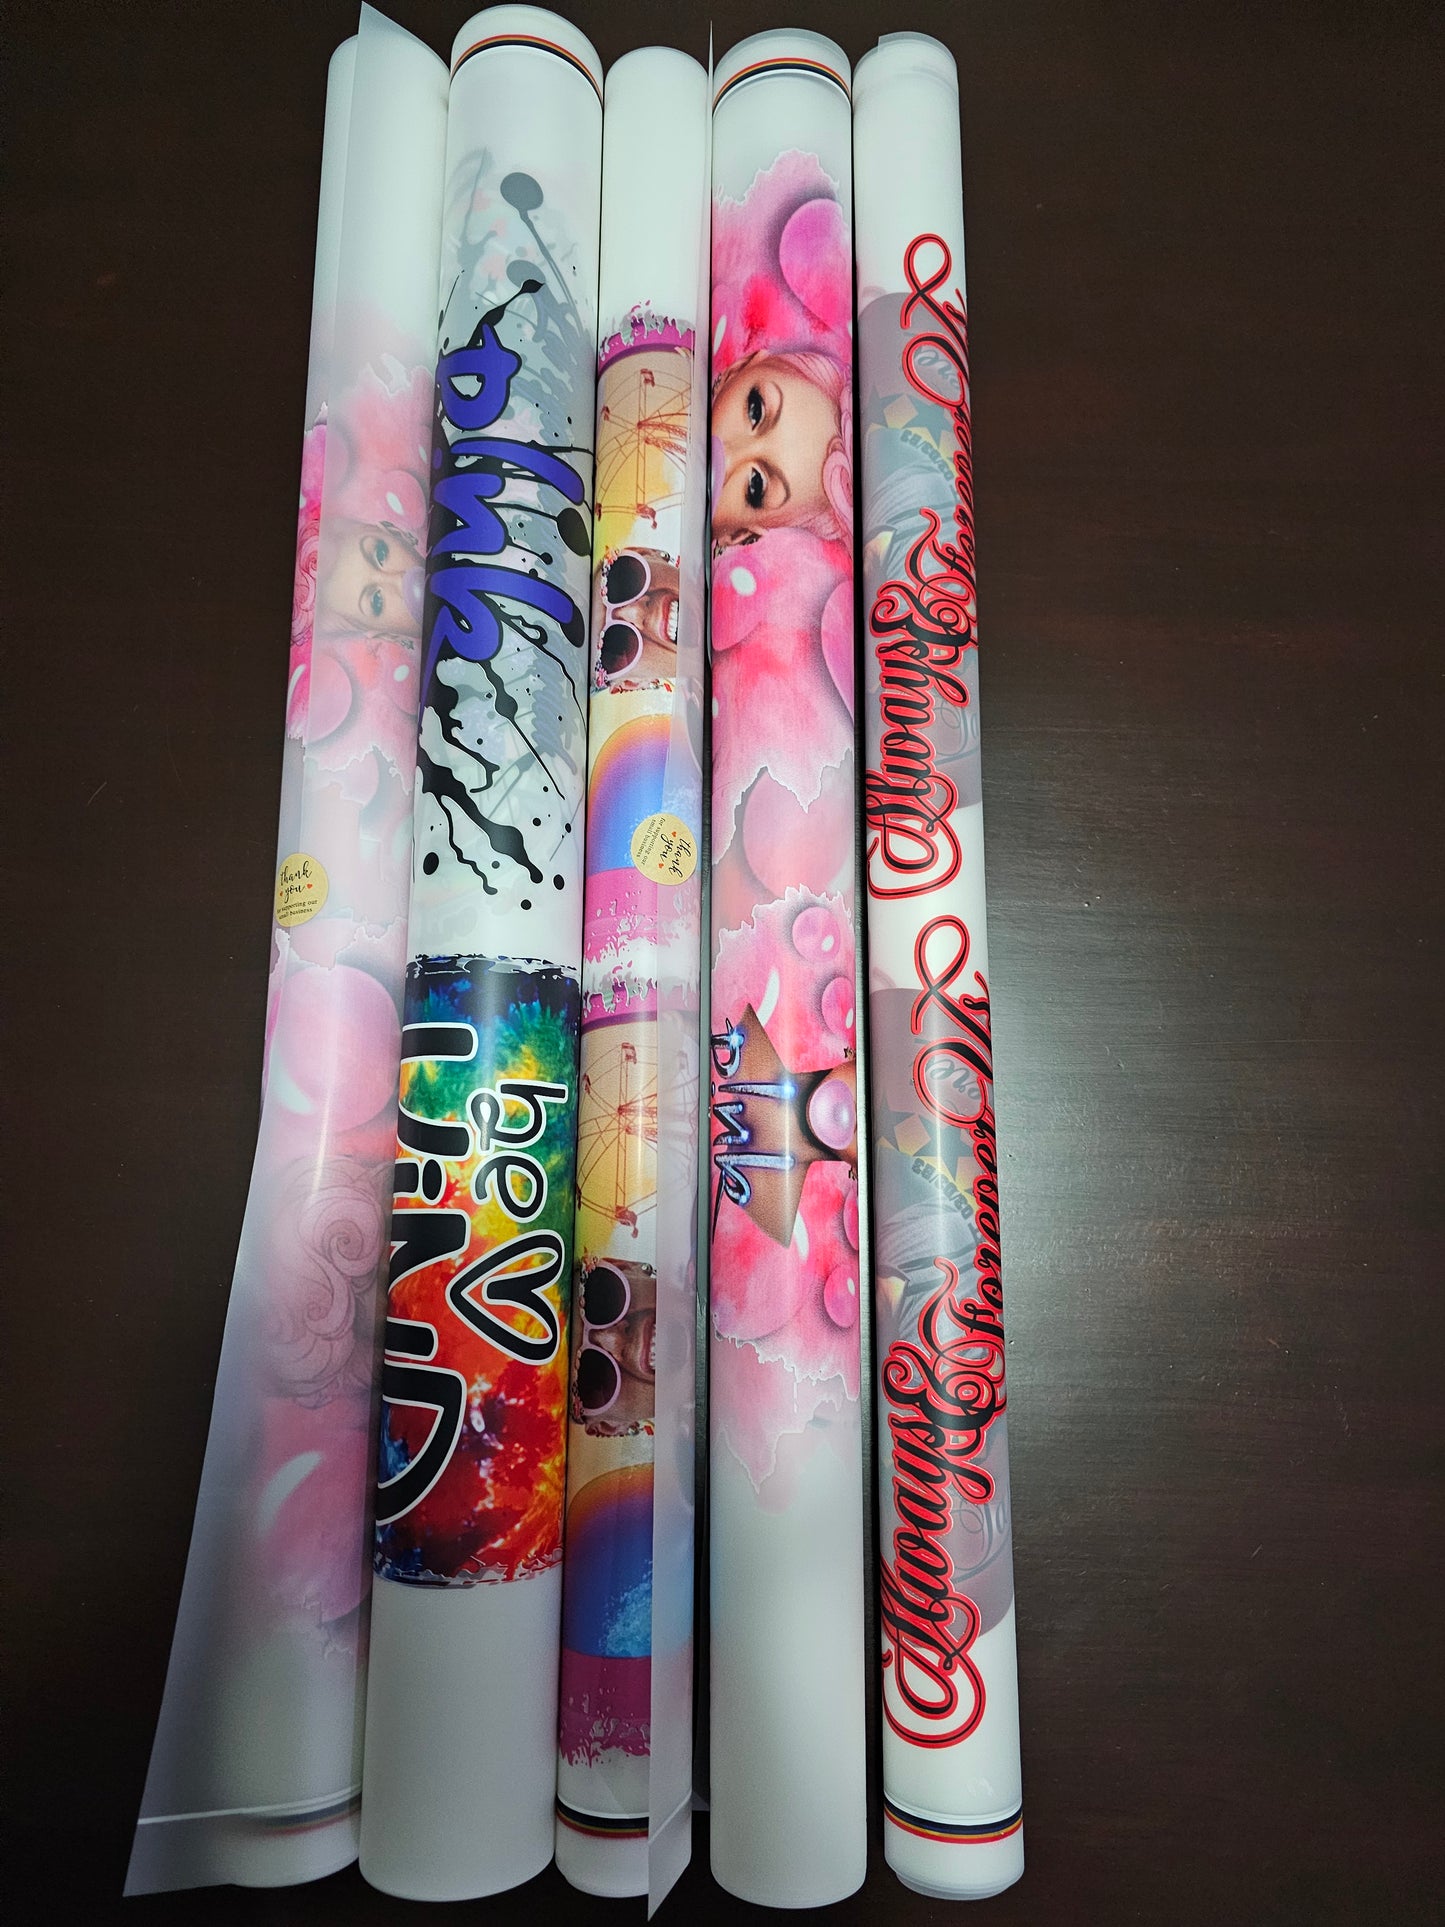
DTF Transfer's
DTF Transfer's
Please note we have moved our DTF transfers to our new website True Blue DTF. Orders can still be placed here until the 31/12/2024
- Ready within 24/48 hrs
- Vibrant
- Quality
DTF Transfer Sizes
DTF Transfer Sizes
- 58cm x 91cm
- 58cm x 182cm
- 58cm x 273cm
- 58cm x 364cm
- 58cm x 455cm
How To Upload Artwork
How To Upload Artwork
Instructions for Uploading Artwork to Verity Fashion's Gang Sheet Builder
Welcome to Verity Fashion's Gang Sheet Builder! Follow these easy steps to upload your artwork and create your custom gang sheet.
Step 1: Access the Gang Sheet Builder
- Click The Above Box Build A Gang Sheet
Step 2: Prepare Your Artwork
- File Formats: Ensure your artwork is in one of the supported formats (PNG, JPEG, PDF). We perfer PNG files as the background is removed. If there is a background please note - THIS WILL BE PRINTED
- Resolution: For the best quality, your artwork should be at least 300 DPI (dots per inch).
Step 3: Start Your Project
- Select Sheet Size: Choose the size of your gang sheet from the available options (e.g., 58cm X 91cm, 58cm X 182cm, etc.).
Step 4: Upload Your Artwork
- Click 'Upload Artwork': Locate and click the "Upload Artwork" button.
- Choose Files: Select the artwork files from your computer that you want to include on the gang sheet.
- Position and Resize: Once uploaded, you can position and resize your images on the sheet. Use the drag-and-drop feature to move your designs and the corner handles to adjust the size.
Step 5: Customize Your Layout
- Add More Designs: Repeat the upload process to add more designs if needed.
- Remove Backgrounds: Use the background removal tool if you need to remove any unwanted backgrounds from your images.
- Duplicate Designs: If you want multiple copies of the same design, use the duplicate feature.
Step 6: Review and Finalize
- Preview: Check the preview of your gang sheet to ensure all designs are correctly positioned and sized.
- Adjust: Make any necessary adjustments by dragging, resizing, or deleting images.
Step 7: Save and Order
- Save Your Design: Save your layout by clicking the "Save" button.
- Add to Cart: Once satisfied with your design, click "Add to Cart" to proceed with your order.
- Checkout: Follow the checkout process to complete your purchase.
Additional Tips
- Help and Support: If you need assistance, our support team is here to help. Visit our Page to send us a message or contact customer support at info@verityfashion.com.au or give us a call 08 9297 2697
- YouTube instructional video - www.youtube.com/watch?v=aF1l_XycRRM
Thank you for choosing Verity Fashion! We look forward to seeing your unique designs.
Delivery
Delivery
We will fulfill your order as soon as possible. Upon completion, you will receive an email with tracking information. If you have selected shipping, you will receive the tracking number once your package has been posted or a ready for pickup notification will be sent if you have selected pick up. We dispatch 90% of items the next day if ordered before 2:00 PM AWST. Please note that we are not Australia Post or a courier. Once we have dispatched your order, we can only provide the tracking information available to you. Please allow sufficient time for your order to arrive and enjoy your new items.
Pressing Instructions
Pressing Instructions
Preparation
1. Pre-press Garment: Pre-press the garment for 7 seconds at the area where the transfer will be applied. This step is crucial for removing moisture and wrinkles, ensuring a smooth surface.
Transfer Application
2. Inspect Transfer: Before pressing, ensure that the transfer is free of borders or any unwanted print particles. This check is essential for a clean and precise application.
3. Position Transfer: Place the transfer accurately on the shirt with the white side down. Then cover it with heat transfer paper or parchment paper. This layer protects the transfer during the pressing process.
Pressing
4. Heat Press Application: Use a heat press to apply the transfer. Press for 15 seconds at 150 degrees Celsius with medium pressure. The precise temperature and pressure are key to a successful transfer.
5. Cooling: Allow the garment to cool completely before peeling off the transfer paper. This patience ensures that the transfer adheres properly to the garment.
Final Pressing
6. Secondary Pressing: After removing the transfer paper, cover the print again with transfer paper or parchment paper. Press for an additional 10 seconds. This final press secures the transfer for durability.
Disclaimer
Please be aware that we are not responsible for any issues arising from incorrect pressing of heat transfers. It is crucial to use a heat press set to the correct temperatures. Using an iron or other heating devices is not advisable, as they do not provide the necessary temperature control or even distribution of heat and pressure. Such methods can lead to a transfer that feels poor to
the touch and may peel off after washing. Always follow the recommended instructions for optimal results.
Share Now
